


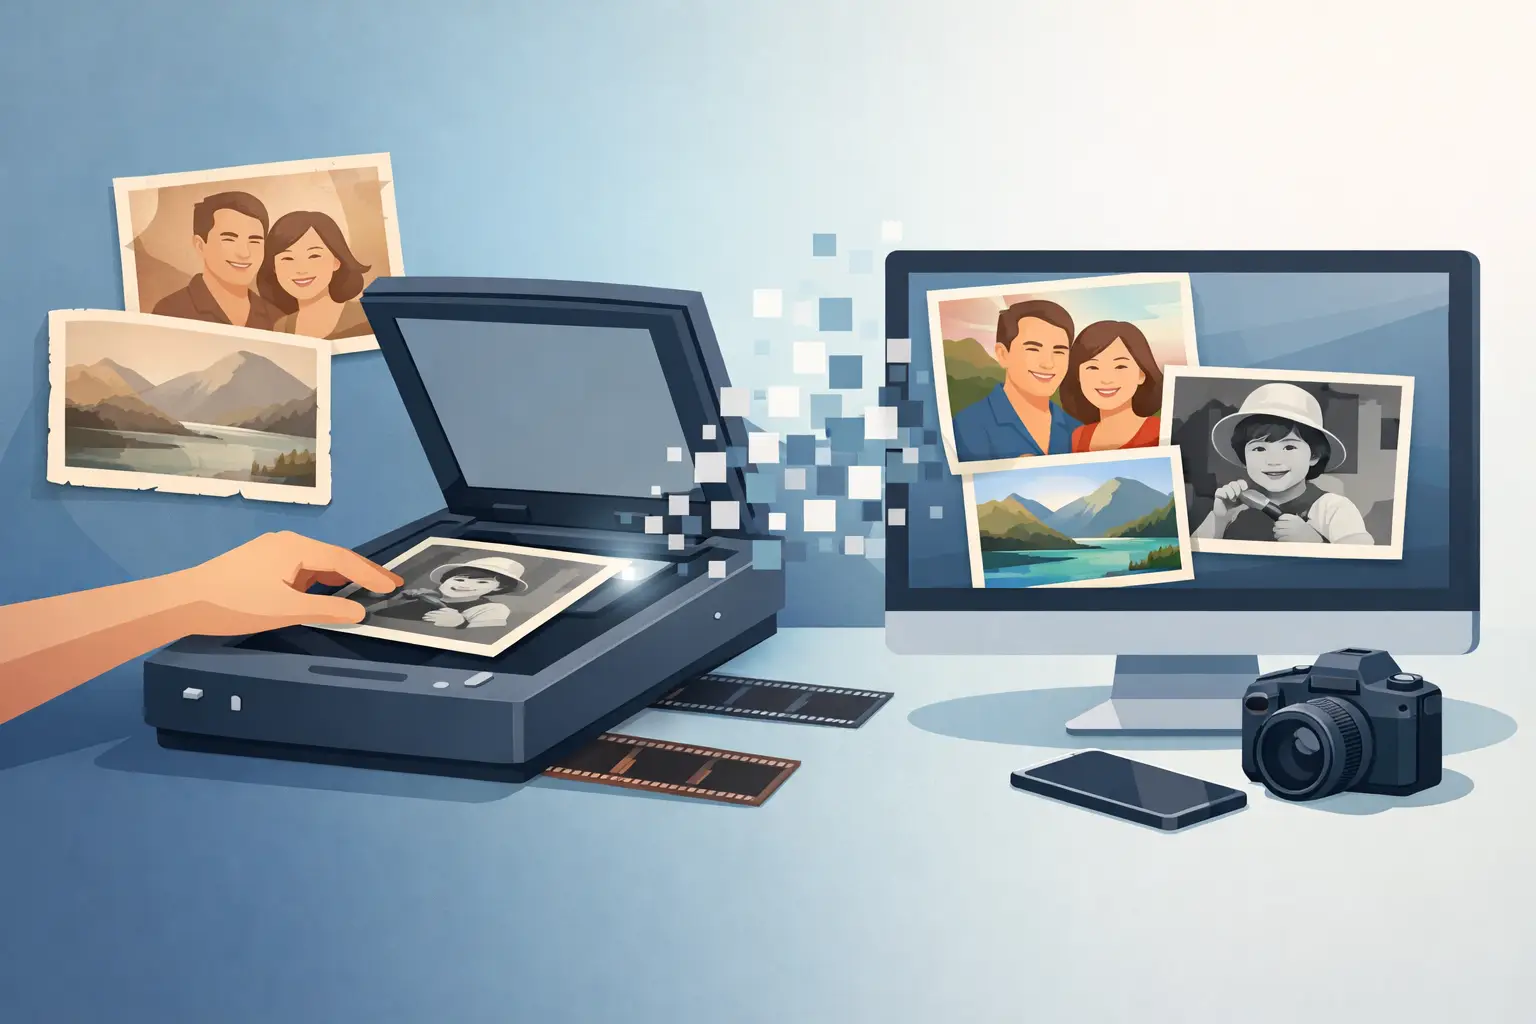
A shoebox of family photos can hold more history than a shelf full of albums: school portraits, holiday tables, old neighborhoods, and people whose stories should not fade with the paper. Learning how to digitize old photos gives those moments a second life – one that is easier to protect, organize, print, and share with the people who will appreciate them.
The goal is not simply to make copies as fast as possible. It is to create digital files that look good, are easy to find later, and have a safe home if the original photo is damaged, lost, or passed along to another family member.
Start by sorting, not scanning
It is tempting to feed every photo into a scanner right away. A little sorting first will save time and make the finished collection far more useful. Set aside anything that is torn, curled, stuck together, or especially fragile. These photos may need gentler handling or professional help.
Then create simple groups. You might sort by family branch, decade, event, or person. Do not let perfect organization stop the project. A stack marked “Grandma’s photos, roughly 1950s-1970s” is plenty of information to begin with.
As you sort, remove photos that are obvious duplicates, badly out of focus, or unrelated to the collection. Keep anything with handwriting on the back. Notes in a relative’s handwriting can be just as meaningful as the image itself, so plan to scan both sides when there is writing, a date, or a studio stamp.
If you have albums, resist the urge to pull every photo free. Older albums may use glue, tape, or adhesive pages that can damage prints. Scan the page as it is, or carefully photograph it from above if removing photos would cause harm.
Choose the best way to digitize old photos
The right method depends on the number of photos, their condition, and what you hope to do with them afterward. A flatbed scanner is usually the best all-around choice for loose prints. It keeps photos flat, captures consistent color, and gives you enough detail for reprints and enlargements.
A phone can work well for a quick project, especially when you need to capture an album page or a photo that cannot safely go into a scanner. Use bright, even light near a window, but avoid direct sun and overhead glare. Hold the camera parallel to the photo, and use a plain background. Many phone scanning tools can crop edges and correct perspective, though they can sometimes over-sharpen faces or alter colors.
An automatic photo-feed scanner is useful when you have hundreds of sturdy, standard-size prints. It is fast, but it is not the right choice for curled photos, Polaroids, delicate prints, or anything with tape, glitter, raised texture, or fragile corners. Speed is helpful only when it does not put the originals at risk.
For one-of-a-kind photos, slides, negatives, or images that need restoration, a local digital conversion service can be a practical choice. At Liquid Books, face-to-face help is available for digital conversion projects, which can be especially useful when you are not sure what format or resolution your older media needs.
Use settings that protect future options
Resolution is the setting that matters most. It is measured in DPI, or dots per inch. For most printed photographs, scan at 600 DPI. This creates a clear archive copy and leaves room for modest enlargements without making every file unnecessarily huge.
Use 300 DPI only for basic sharing or small prints when storage space is a concern. For tiny photos, slides, negatives, or pictures you may want to enlarge significantly, 1200 DPI or higher can be worthwhile. Higher resolution does not improve a blurry original, but it does preserve more of the detail that is there.
Save your best scans as TIFF files if possible. TIFF files are larger, but they do not discard image data and are a strong choice for a long-term archive. JPEG files are smaller and convenient for emailing, posting, or ordering standard prints. A good approach is to keep a TIFF master file and make JPEG copies for everyday use.
Scan in color, even if a photo looks black and white. Color scanning can preserve subtle tones in older paper, sepia images, fading, and handwritten notes. Turn off aggressive automatic corrections at first. Scanner software sometimes improves a picture, but it can also change skin tones, erase texture, or make an old photo look oddly modern.
Clean carefully before each scan
Dust becomes much more obvious once a photo is scanned. Before placing a print on the scanner bed, wipe the glass with a clean microfiber cloth. Make sure it is dry and free of streaks.
Handle photographs by the edges whenever possible. If a print has loose dirt, use a soft brush or a hand-operated air blower made for cameras. Avoid household cleaners, wet wipes, tape, and canned air. Do not try to scrub away stains or mold. A small mark is safer than accidentally lifting the image from the paper.
Check every scan before moving on. Look for dust, clipped edges, glare, or a photo that was accidentally scanned crooked. Fixing a problem while the original is still in your hand is much easier than searching through a stack later.
Name files so people can actually find them
A folder called “Old Photos” is a good start, but it becomes difficult to use once it contains 400 images. Clear file names turn a digital pile into a family archive.
Use a consistent pattern, such as `1958-07_Johnson-Family_Picnic_001`. If you do not know the exact date, estimate without pretending to be certain: `circa-1960s_Aunt-Mary_Graduation_001` works well. Put the year first so files sort in chronological order.
Create folders that match your sorting method. For example, you might have folders for `Family Branches`, `Holidays`, `School Photos`, and `Unknown People`. An unknown-photo folder matters. It gives you a place for mystery images without forcing guesses that could become family “facts” later.
Add details while memories are fresh. In a notes app, spreadsheet, or photo library description field, record names, locations, dates, and stories. Ask relatives to help identify people. A short phone call with an aunt or grandparent can reveal details that no scanning setting can recover.
Make light edits, and keep the original scan
Cropping a crooked edge, rotating a photo, or adjusting a slightly faded image can make a big difference. Start with basic edits: straighten, crop, correct exposure, and make gentle color adjustments. Be cautious with filters and heavy restoration tools. They may smooth out facial features, remove film grain, or change the character of an image.
Always keep the untouched scan. Save an edited version with a clear addition to the file name, such as `1958-07_Johnson-Family_Picnic_001_edited`. That way, you can revisit the edit later without losing the closest digital version of the original print.
If a treasured photo is torn, stained, or badly faded, restoration can be worth doing. Just treat restoration as interpretation, not time travel. The best result often keeps the photo recognizable as an old family photograph rather than making it look newly shot.
Back up your collection in more than one place
A computer is not a backup plan by itself. Hard drives fail, phones get replaced, and accidents happen. Keep your files in at least three places: your main computer, an external hard drive, and a secure cloud storage account.
Every few months, confirm that the files still open and that your backup is current. Label the external drive clearly, and consider leaving a copy with a trusted family member. This is especially helpful for collections that several relatives care about.
Do not throw away original photos after scanning them. Store them in a cool, dry place away from attics, basements, direct sunlight, and extreme temperature changes. Acid-free boxes or photo-safe albums are a better long-term home than rubber bands, damp cardboard, or adhesive albums.
Turn the project into something people can enjoy
Digitizing is preservation, but it can also bring old photos back into everyday life. Print a favorite portrait for a birthday card, make a small album for a relative, or share a folder before a family reunion. A few thoughtfully chosen photos often create more conversation than a giant, unorganized batch of files.
Begin with one small collection – a single album, one relative’s box, or a stack of vacation photos. The project does not have to be finished in a weekend. Each photo you scan is one more memory protected, ready to be rediscovered when someone asks, “Who is that?”
 Previous Post
 Next Post