


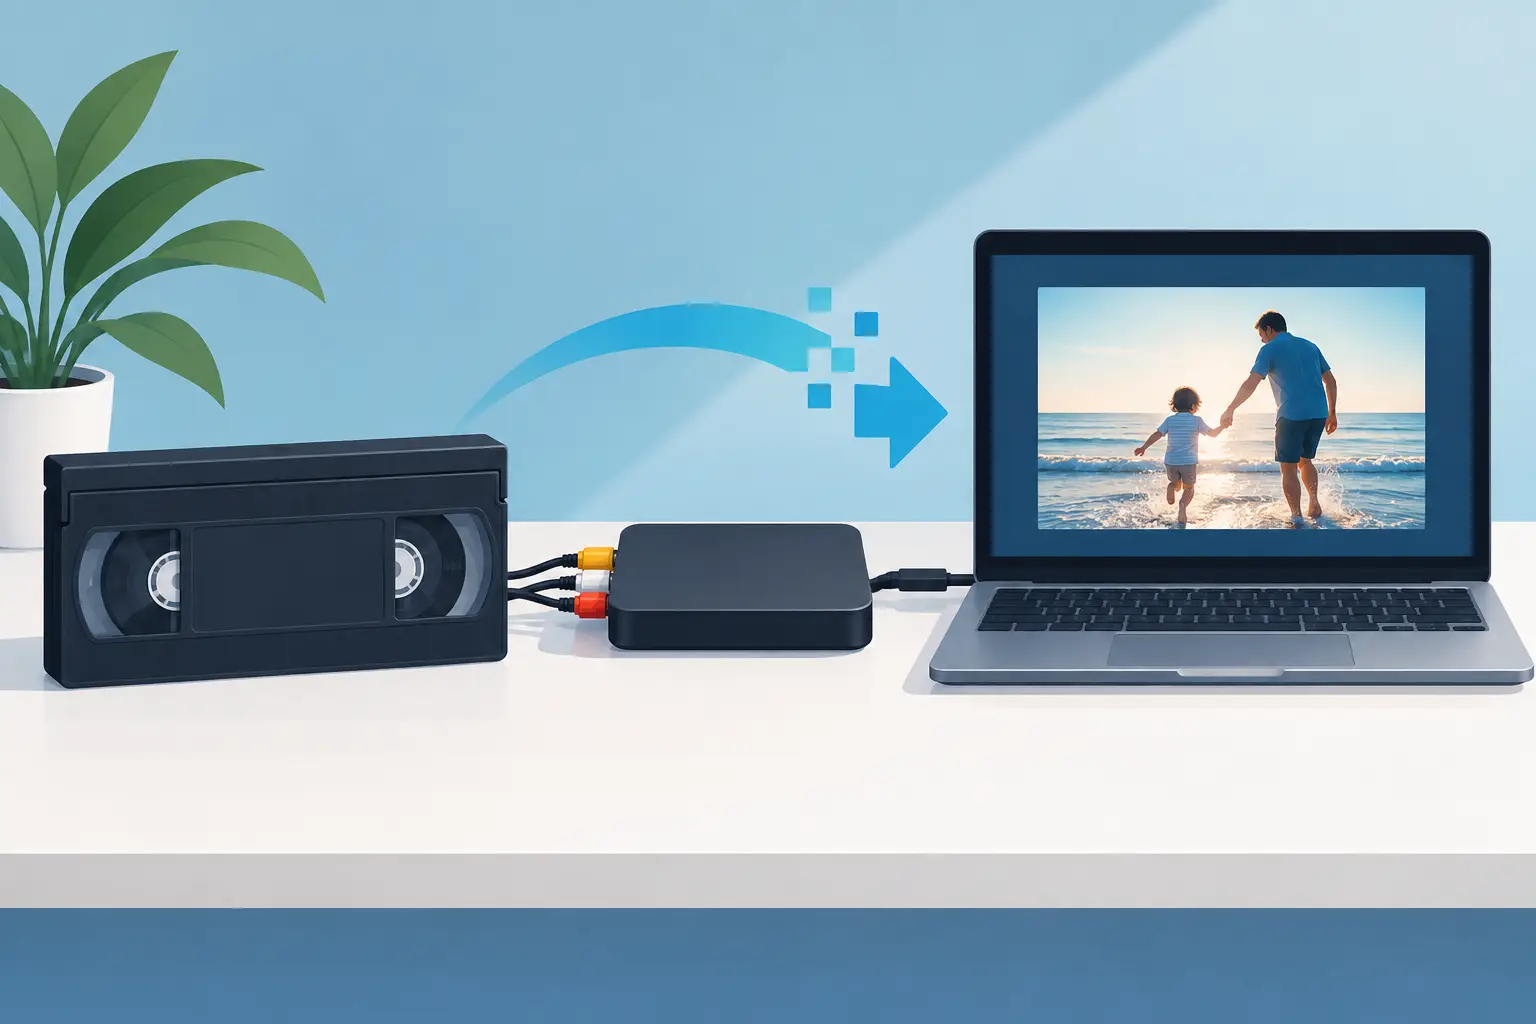
That wedding toast, first Little League hit, or holiday morning from 1994 is not getting any younger. VHS conversion quality is about more than putting an old tape onto a USB drive. It is about preserving the clearest, most complete version of a memory before time, storage conditions, and repeated playback take more of it away.
A good conversion will still look like VHS. The picture may be soft, the colors may have the particular warmth of the era, and the camera work may be charmingly unsteady. The goal is not to make home video look like modern 4K footage. The goal is to capture what is on the tape faithfully, reduce avoidable problems, and create a file your family can actually watch and keep.
What Determines VHS Conversion Quality?
The finished digital file is only as strong as the original tape, the playback equipment, and the care used during transfer. Those three pieces work together. A clean, well-kept tape played through a properly maintained VCR can produce a surprisingly enjoyable file. A damaged tape sent through a worn machine can lose detail that may not be recoverable later.
The tape’s condition comes first
VHS tapes use magnetic tape, and magnetic media changes over time. A tape stored in a climate-controlled closet usually has a better chance than one kept in a hot garage, damp basement, or car trunk. Heat, humidity, dust, mold, and physical wear can all affect playback.
Before conversion, take a close look at the cassette shell. Cracks, warped plastic, loose tape, a musty smell, or visible white or fuzzy material are warning signs. Do not put a moldy tape into a VCR you care about. Mold can damage the tape further and contaminate the machine. A tape that is stuck, snapped, or visibly wrinkled may need repair before anyone attempts a transfer.
Even tapes that look fine can have dropouts – brief streaks, flickers, or missing bits of picture caused by lost magnetic material. Conversion cannot recreate footage that is no longer on the tape. It can, however, prevent additional wear from repeated casual playback.
Playback equipment makes a real difference
Not every VCR treats a tape the same way. Clean video heads, stable tape transport, and proper tracking help the machine read the signal with fewer glitches. A neglected VCR may add rolling, noise, tracking lines, or audio problems that are not actually part of the recording.
For difficult tapes, a higher-quality deck and time base correction can improve stability. This equipment helps smooth the small timing errors common in analog video, which can otherwise cause wavering edges, frame jumps, or trouble with digital capture devices. It is useful, but it is not magic. If the original camera recording was blurry or poorly lit, the transfer will still reflect that.
This is one reason a local, hands-on service can be more reassuring than an unknown bulk process. At Liquid Books, digital conversion is approached as a practical preservation service, not just another file-making task. A tape that needs attention deserves someone who can notice a playback issue instead of simply letting the transfer run.
The capture settings affect what you keep
VHS is standard-definition video. Capturing it at an enormous resolution does not create extra detail, but capturing it too aggressively can throw detail away. The best settings preserve the original signal cleanly and create a file that plays easily on current devices.
A high-quality master file is helpful when you want a long-term copy for future editing or re-exporting. A smaller, widely compatible MP4 file is often better for everyday viewing, sharing with relatives, or playing on a smart TV. Many families benefit from having both: a preservation-minded copy and an easy-to-watch version.
Audio deserves the same care as video. Family tapes often contain voices that matter more than the picture: a grandparent telling a story, a child singing, a room full of laughter. Hiss and hum can sometimes be reduced, but heavy noise filtering may make voices sound thin or artificial. The right choice depends on whether clarity or a more natural original sound matters most to you.
What Good VHS Conversion Quality Looks Like
A quality transfer should show the full frame without obvious cropping, stretching, or added distortion. People should not look unusually wide because a 4:3 VHS image was forced into a modern widescreen shape. The picture should be stable enough to watch comfortably, with color that looks natural for the source material.
Expect some analog character. Mild grain, occasional speckles, and softer edges are normal. Be skeptical of promises that every VHS tape can be made crystal clear. Excessive sharpening can create harsh outlines around faces and objects. Overdone color correction can turn skin tones orange or erase the feeling of an old indoor recording. Good restoration respects the source instead of trying to turn it into something it never was.
A careful transfer also preserves the beginning and end of the recording. Home tapes often have a few seconds of blue screen, camera setup, or a child unexpectedly stepping in front of the lens. Those moments may not be polished, but they can be part of the memory. If you want unwanted blank sections trimmed, that should be a choice, not an assumption.
VHS Conversion Quality Problems You Can Catch Early
If you are reviewing a sample or completed file, watch it all the way through rather than checking only the first minute. Some tapes play well at the start and become unstable later. Listen with headphones for low audio, buzzing, or one channel cutting out.
Look for a few specific issues: picture rolling or jumping, frequent tracking bars, audio drifting out of sync, missing sections, and a screen that has been stretched to fill widescreen. A brief glitch may be unavoidable if it exists on the tape, but widespread instability can point to a playback or capture problem worth addressing.
It also helps to ask what format you will receive and how it will be labeled. A clearly named file makes a future search much easier than a folder full of items called VIDEO001. If you have several tapes, simple labels with a family name, event, and approximate year can save a lot of guessing later.
How to Prepare Tapes for Better Results
Gather tapes while you still remember what is on them. Write a light, clear label on each cassette or place it in a labeled bag. Include the event, people featured, approximate date, and any notes such as “starts with recital, ends with birthday.” Do not put adhesive labels directly over moving parts or cover existing information you may need.
Keep the tapes upright in their cases and bring them in at room temperature. If they have been in a cold vehicle or hot storage area, let them rest indoors before playback. Avoid rewinding and fast-forwarding a brittle or questionable tape repeatedly just to check its contents.
Prioritize irreplaceable recordings first. Commercial movies may be available elsewhere, but a tape of a family reunion, a local school program, or a loved one who is no longer here has only one source. If you find a tape with mold or obvious damage, set it aside and mention the condition before transfer.
Choose Preservation Over Perfection
The best time to convert VHS is before a tape becomes an emergency. Every pass through a machine introduces a little risk, and replacement VCRs are becoming harder to find in dependable condition. Starting now also gives you time to organize files, make backup copies, and share the finished videos with people who will appreciate them.
Once your files are ready, keep more than one copy. A USB drive is convenient, but it can fail or get misplaced. Save another copy on a computer or external drive, and consider giving copies to close family members. The point is not just to digitize a tape. It is to make sure the story on it remains easy to find, easy to watch, and ready for the next person who asks, “Do we have a video of that?”
 Previous Post