


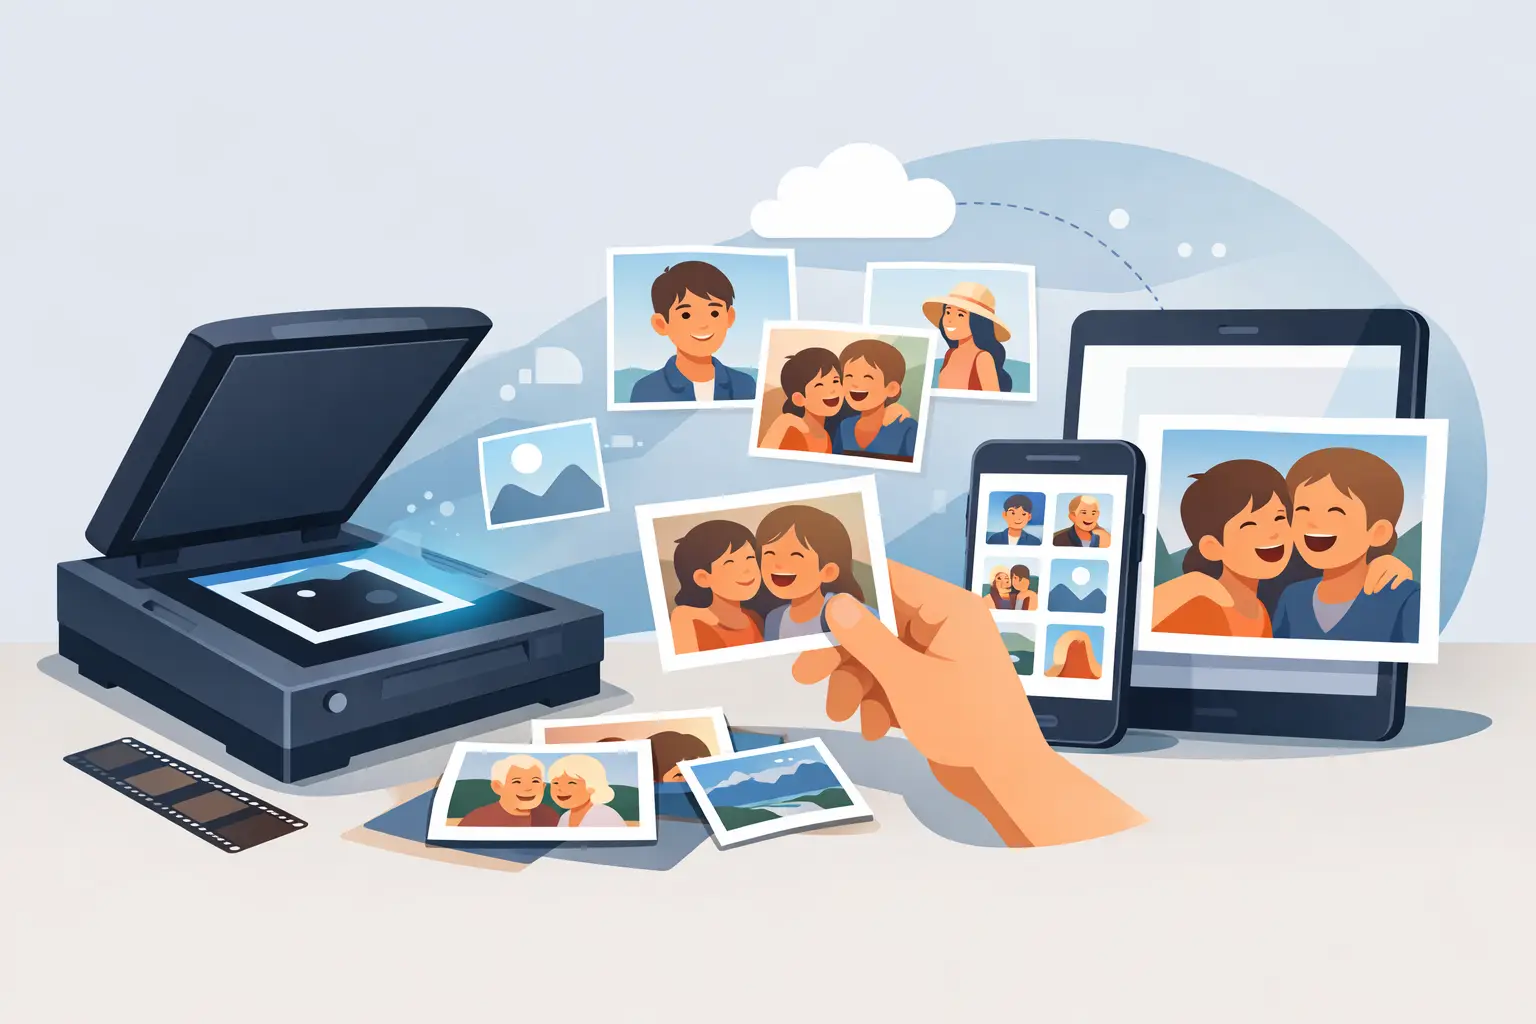
That shoebox of loose snapshots is not just taking up closet space. It may hold a grandparent’s wedding day, a child’s first bike ride, a favorite old pet, or a neighborhood that looks completely different now. Photo scanning gives those moments a second life – one that is easier to protect, share, and revisit without wearing out the original print.
For many families, the hardest part is not deciding that old photos matter. It is figuring out where to begin. Albums have sticky pages, prints come in odd sizes, some images are faded, and there may be decades of pictures mixed together. A little planning makes the project feel manageable instead of overwhelming.
Why photo scanning is worth the effort
Printed photographs are durable in some ways, but they are not invincible. Heat, humidity, sunlight, water damage, and everyday handling can leave marks that cannot be undone. Older color prints often fade. Polaroids can yellow. A photo tucked into a frame may look fine until you remove it and find that it has stuck to the glass.
A digital copy does not replace the original. There is something special about holding a real snapshot with a handwritten note on the back. But a scan creates a useful backup and lets you enjoy the image in new ways. You can send a childhood photo to a sibling, make a fresh print for a relative, build a graduation slideshow, or save family history before an album becomes too fragile to handle.
It also makes everyday organization easier. Instead of searching through several boxes for one vacation photo, you can keep digital folders by decade, event, person, or family branch. The goal is not to create a museum-perfect archive overnight. The goal is to make sure your favorite memories are not stranded in a drawer.
Choose what to scan first
Trying to scan every photo you own is a fine long-term goal, but it is rarely the best way to start. Begin with the photos that would be hardest to replace: images of relatives who have passed away, early childhood pictures, one-of-a-kind event photos, military portraits, school pictures, and older family albums.
A simple first batch might be one small album or one box of 50 to 100 photos. That gives you a clear finish line. As you sort, set aside duplicates, blurry images, and photos that have little meaning to anyone. You do not have to throw them away, but you also do not need to spend time scanning every accidental thumb-over-the-lens shot from 1994.
If several family members are involved, ask them to help identify people and dates before details disappear. A quick note such as “Aunt Linda, Manteno, summer 1988” is much more valuable than a file named “IMG_0042.” Even approximate dates are helpful.
Prepare photos without risking damage
Before scanning, wash and dry your hands. Lotion, food residue, and fingerprints can transfer to old prints. Keep drinks away from the work area, and use a clean, dry microfiber cloth to gently remove dust from the scanner glass.
Handle photographs by the edges whenever possible. Do not use tape to repair torn prints before scanning, and do not try to flatten a curled photo with heat. If an image is brittle, cracked, stuck to another photo, or mounted in a damaged album, slow down. Forcing it flat can cause more harm than good.
Old albums deserve special care. If photos slide out easily, scan them individually for the best results. If they are attached to a page or surrounded by handwritten captions, scanning the full page may preserve more of the story. Those notes, decorations, and dates can be just as meaningful as the image itself.
Pick a resolution that fits the job
Resolution is measured in DPI, or dots per inch. Higher DPI captures more detail, but it also creates larger files and takes more time. For most standard snapshots that you want to view, share, or reprint at about the original size, 300 DPI is a practical choice.
Use 600 DPI for smaller photos, prints you may want to enlarge, images with fine detail, or older photos that deserve a stronger preservation copy. Going higher can be useful for slides, negatives, and very small originals, but more is not always better. Extremely large files can become difficult to store and sort, especially when the original image does not contain enough detail to benefit from the extra resolution.
For file types, JPEG is convenient for everyday viewing and sharing. It keeps file sizes manageable. TIFF files are much larger but do not use the same compression as JPEGs, making them a good option for especially important originals or restoration work. Some families keep a high-quality master scan and a smaller JPEG copy for easy sharing.
Flatbed scanners, phone apps, and local help
The best method depends on the condition and quantity of your photos. A flatbed scanner is usually the most reliable option for prints, especially photos that are curled, delicate, or stored in albums. It produces consistent results and keeps the original flat without the perspective distortion common with phone photos.
Phone scanning apps can work well for a few clean, flat pictures when speed matters. Use bright, even light and avoid glare. They are handy for sharing a photo at a family gathering, but they may not capture the same level of detail or color accuracy as a quality scanner.
For a larger project, a local digital conversion service can save considerable time and reduce the stress of working with delicate materials. At Liquid Books, photo scanning can be a practical way to turn family prints into digital files while keeping the process close to home. It is especially useful when you would rather spend your evening looking through memories than troubleshooting scanner settings.
Organize files while the details are fresh
The easiest time to organize digital photos is immediately after scanning them. Create a main folder for your project, then use clear subfolders. You might organize by year, family member, holiday, or event. Choose a system that makes sense to you, not one that looks impressive but becomes difficult to maintain.
File names should be descriptive enough to find later. For example, “1987_Grandma-Rose_Christmas-Day_01” tells a much better story than “scan12.” If you do not know the date, use an estimate like “circa-1970s” or simply name the people and place.
Keep a simple note file or spreadsheet for details that do not fit neatly into a file name. Record names, locations, stories, and anything written on the back of a photo. Family history often lives in small details: the name of an old restaurant, the model of a first car, or the reason everyone is dressed up on a random Tuesday.
Back up the scans in more than one place
A scanned photo is only protected if the digital file is protected, too. Store your collection in at least two places. One copy can live on a computer or external hard drive, while another is kept in a separate backup location or a trusted cloud storage account.
External drives are affordable and convenient, but they can fail or get misplaced. Cloud storage is useful for access and sharing, but it depends on maintaining your account and password. Using both gives you a stronger safety net.
Once the files are backed up, share selected photos with the people who will appreciate them. Send a folder to relatives, print a few favorites, or make a small album for a birthday or anniversary. A digital archive should not become another forgotten folder. It should make it easier for memories to keep moving through the family.
Make room for the originals, too
After scanning, do not rush to discard every print. Store originals in a cool, dry place away from direct sunlight, basements, attics, and garages with major temperature swings. Acid-free photo boxes and sleeves are helpful for the photos you value most. Avoid rubber bands, paper clips, and old adhesive albums that can leave permanent marks.
Photo scanning is a project built one picture at a time. Start with the box you already know you would save in a fire, label what you can, and give yourself permission to leave the rest for another weekend. One preserved photo can bring back an entire room, a familiar laugh, or a story you thought had been lost.
 Previous Post
 Next Post