


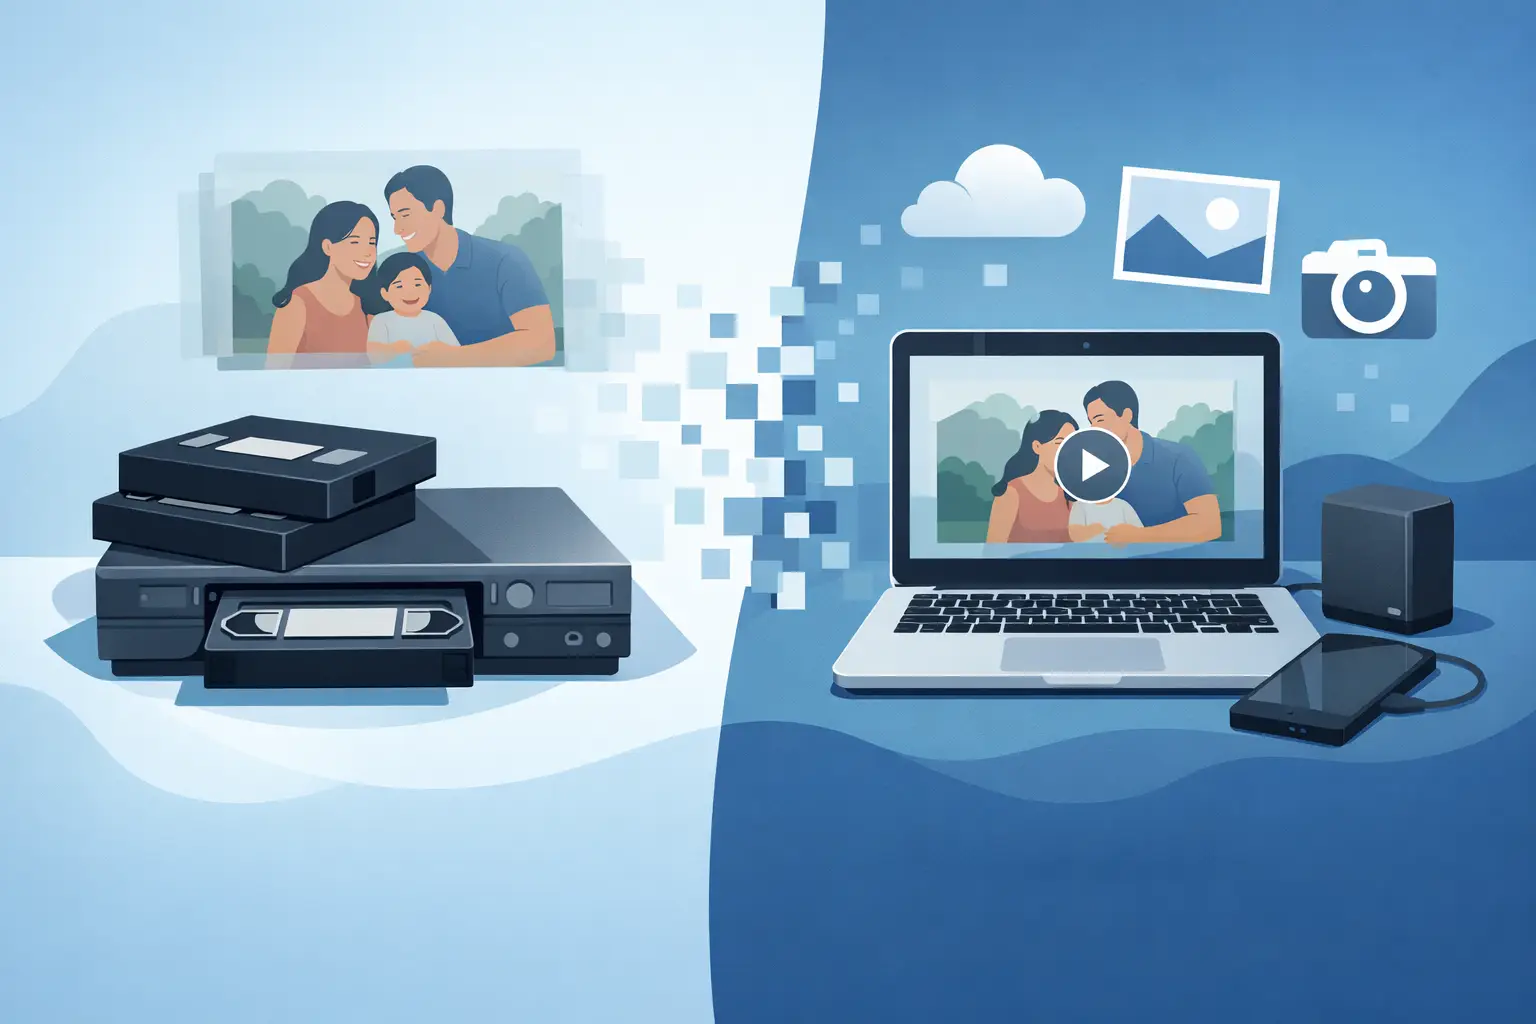
That box of VHS tapes in the closet may hold a first birthday, a school concert, a fishing trip, or a holiday gathering with people you would love to see again. Learning how to digitize VHS tapes gives those moments a better chance of lasting – and makes them much easier to watch, copy, and share with family.
VHS was never built for forever. Tape can stretch, shed magnetic material, collect dust, or simply become harder to play as working VCRs disappear. The good news is that you do not need a Hollywood studio to preserve your home movies. You do need patience, the right setup, and a plan for saving the finished files somewhere safe.
Start With the Tapes, Not the Equipment
Before buying anything or connecting cables, look through your collection. Label each tape with whatever you know: the event, people, rough date, and whether it is a full-size VHS tape, VHS-C cassette, or another format. A simple numbered list on paper or in a spreadsheet can save a surprising amount of confusion later.
Check every cassette for obvious trouble. If the tape shell is cracked, the tape is loose or wrinkled, or you see fuzzy white or gray growth inside, do not put it into a VCR right away. That may be mold, and running a moldy tape can damage both the tape and the machine. Tapes that are badly damaged, wet, or moldy are better handled by a specialist.
For tapes in decent shape, rewind them fully before capture. If one has not been played in decades, let it rewind at a normal pace rather than forcing it. Keep food, drinks, magnets, and curious pets away from the work area. These are small precautions, but family footage is not replaceable.
What You Need to Digitize VHS Tapes at Home
The basic home setup is straightforward: a working VCR, a video capture device, the correct cables, a computer, and enough storage space. Your VCR does not have to be fancy, but it should play tapes steadily without chewing them or producing heavy static.
Most VCRs use yellow, white, and red composite cables. Yellow carries video, while white and red carry left and right audio. Some models offer S-Video, which can produce a slightly cleaner image when paired with a compatible capture device. It will not turn VHS into high definition, but it can reduce some color bleed and give you the best version of what the tape contains.
A USB video capture device connects the VCR to your computer. Many include capture software, though the software quality varies. Choose one that works with your computer’s operating system before you begin. You may also find VHS-to-DVD combination recorders, but capturing to a computer gives you more flexibility for organizing, backing up, and sharing files.
Plan for storage before you start. Video files add up quickly, especially if you save a higher-quality master file. An external hard drive is a practical choice for a large tape collection. Keep at least two copies of your finished videos in separate places, such as an external drive at home and a trusted cloud storage account.
How to Digitize VHS Tapes Step by Step
Set the VCR near your computer with enough room for ventilation. Connect the VCR’s video and audio outputs to the matching inputs on the capture device, then plug the capture device into your computer. Open the capture software and select the device as your video and audio source.
Insert a tape and play a minute or two before recording. Watch for tracking lines, unstable picture, audio hum, or a tape that struggles to move. Use the VCR’s tracking controls if it has them. Sometimes stopping, ejecting, and reinserting the tape can help the VCR find a steadier playback position.
When the picture looks as good as it reasonably can, rewind to the beginning. Start recording in the software, then press play on the VCR. Let the tape run in real time. A two-hour tape takes about two hours to digitize, so this is a good project for a quiet afternoon, not a five-minute task between errands.
Stay nearby for the first few minutes and check in occasionally. If the VCR stops, the sound drifts out of sync, or the video goes blue during a gap in the recording, you will want to know before the entire tape has passed. Do not leave an older machine running unattended for long stretches.
When the tape ends, stop the recording and play back a few sections of the digital file. Check the beginning, middle, and end. Confirm that the sound is present and that the video is not cut off early. Then rename the file immediately with a clear format, such as `1994-12-25_Christmas_GrandmasHouse` or `Tape03_SoccerSeason_Approx1998`.
Capture Quality: Better Is Not Always Bigger
VHS is standard-definition analog video, so there is a practical limit to how much detail you can preserve. Capturing at a reasonable standard-definition setting is usually the right move. Very large files do not create detail that was never on the tape, and aggressive sharpening can make faces look harsh or amplify tape noise.
If your software lets you choose a format, save a high-quality master first. A less-compressed file is useful for preservation and future editing, while an MP4 copy is convenient for watching on phones, TVs, and computers. If you only want one file type, MP4 is widely compatible and easy to share.
Avoid heavy editing until you have preserved the original capture. You can trim blank space, adjust volume, or create shorter clips for relatives later. Keep an untouched master file as your reference copy. That way, an accidental edit does not become the only version of the family movie.
When a DIY Setup Makes Sense – and When It Does Not
Doing it yourself works well when you have a manageable number of tapes, a reliable VCR, and the time to monitor each transfer. It can also be a rewarding project. Watching old footage often brings back details that labels never captured, and you can organize the files exactly the way your family uses them.
Professional conversion is often the better choice if the tapes are fragile, numerous, or especially meaningful. Consider local help for wedding footage, recordings from a loved one who has passed away, tapes with mold or playback problems, and collections you simply cannot fit into your schedule. A service can also save you from buying equipment you may only use once.
For Manteno and nearby Kankakee County families, Liquid Books offers digital conversion support alongside the practical services that help keep neighborhood projects moving. Bringing in a tape and asking questions can be much less stressful than guessing which cable, format, or capture setting you need.
Organize the Digital Collection While the Details Are Fresh
A folder full of files named `capture001` is not much better than a box of unlabeled tapes. Create folders by decade, family branch, event type, or whatever will make sense to the people who may look for these videos years from now. Put the year first in file names whenever possible so videos sort in chronological order.
Add a short note to each video file or keep a companion document with names, locations, and stories behind the footage. A clip labeled “Lake trip, around 1991, Grandpa Bill driving the boat” becomes far more valuable when younger family members watch it later.
Once files are organized, make copies. The simplest rule is three copies in two different kinds of storage, with one copy kept somewhere else. For example, save the master files on your computer, copy them to an external drive, and upload another copy to cloud storage. Drives fail, accounts change, and accidents happen. Redundancy is how preservation becomes real.
A Few VHS Problems You Should Not Ignore
Some imperfections are part of the VHS experience: soft edges, a little flicker, and occasional tracking noise are normal. But stop playback if you hear squealing, see tape bunching near the cassette window, smell burning, or notice the machine repeatedly ejecting the tape. Continuing can turn a recoverable problem into a damaged recording.
Do not use adhesive tape to repair broken media unless you know exactly what you are doing. Do not clean mold with household products. And do not assume a tape is blank just because the screen looks blue at first. Home recordings often begin after a few seconds of static or a long stretch of nothing.
The goal is not to make an old tape look brand-new. It is to keep the voices, expressions, laughter, and ordinary moments that would otherwise stay trapped in a format built for a different era. Set aside one tape, make a careful first transfer, and let that first recovered memory give you momentum for the rest.
 Previous Post
 Next Post