

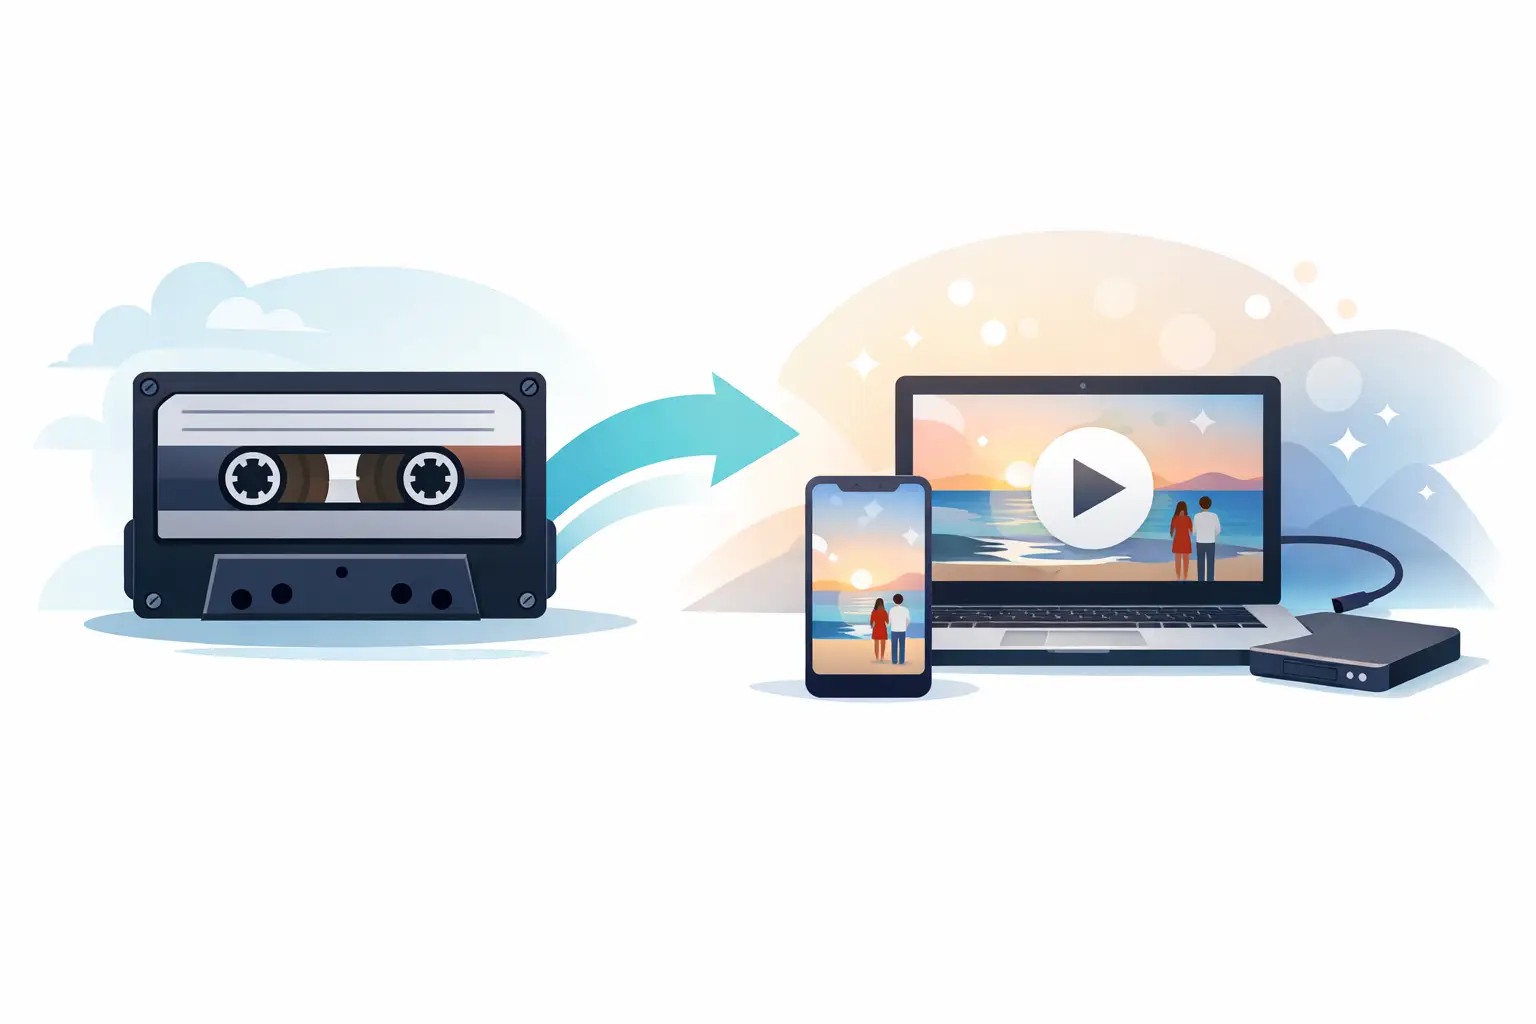
A cassette marked “Grandma, 1987” is not just an old tape. It may hold a voice your family has not heard in decades. A shoebox of radio recordings, band practices, bedtime stories, or carefully made mixtapes can carry the same weight. Cassette tape conversion gives those recordings a practical future, turning a fragile analog format into digital files you can listen to, share, and keep backed up.
The goal is not to make an aging cassette sound like a brand-new studio recording. It is to preserve what is there as faithfully as possible before time, heat, and repeated playback take more of it away. A little preparation and realistic expectations go a long way.
Why cassette tape conversion is worth doing now
Cassette tapes were made to be played, but their magnetic tape does not last forever. The plastic shell can crack, the pressure pad can loosen, and the tape itself can stretch, shed material, or develop problems after years in a basement, garage, attic, or hot car. Even a tape that looks fine may produce hiss, warble, dropouts, or muffled sound.
That does not mean every old cassette is about to fail tomorrow. A well-stored tape can remain playable for many years. Still, conversion is easier when the tape is stable and a working deck is available. Once a recording has been digitized, you can enjoy the file without putting more wear on the original.
For families, the value is often immediate. Digital files can be copied for siblings, added to a family archive, or played at a reunion without handing around one irreplaceable cassette. For musicians, a rehearsal or demo may be the only surviving record of an early project. For collectors, the original tape remains part of the story, while the digital version makes regular listening possible.
What happens during cassette tape conversion
At its simplest, the process plays a cassette through a properly working tape deck and captures its audio as a digital file. The quality of that deck matters more than many people realize. Tape heads need to be clean and aligned, the transport needs to run at a steady speed, and the cassette must move smoothly through the mechanism.
The audio is then recorded into a computer or dedicated recorder. From there, it can be saved in a format chosen for the job. A lossless file is useful as a preservation copy because it keeps the full captured audio. A compressed file is convenient for a phone, car stereo, or easy sharing. Many people keep both: one high-quality master and one everyday listening copy.
A careful transfer also involves listening. The person doing the conversion watches for changes in volume, tape drag, missing audio, or a cassette that is beginning to bind. That attention is especially valuable for one-of-a-kind recordings. Pressing play and walking away may be fine for a common album, but it is a poor plan for the only recording of a loved one.
Sound quality: what can be improved and what cannot
Cassette recordings have character. Some were made on quality tape with a good deck and sound surprisingly clear. Others were recorded from a radio, copied repeatedly, or made with a handheld recorder in a noisy room. The digital conversion will reflect the condition and quality of the original.
Basic cleanup can sometimes make listening more comfortable. Light reduction of steady tape hiss, hum, or long silences may help. Volume can be balanced when a recording is unusually quiet. But heavy noise reduction can also remove detail and make voices sound watery or unnatural. The best choice depends on the recording.
For a family interview, clear speech may matter more than preserving every bit of background texture. For a live band tape or a favorite mixtape, the original sound and pacing may be part of the memory. A good approach is to preserve a faithful master first, then create an optional listening copy with modest adjustments. That way, you are not forced to choose between authenticity and convenience.
Before you bring in your tapes
You do not need to become a tape technician before seeking help, but a few simple steps can protect your collection and make the process smoother. Keep cassettes at room temperature and let them acclimate if they have been stored somewhere very cold or hot. Avoid leaving them in direct sunlight or inside a vehicle.
Label each tape as clearly as you can. A sticky note with names, dates, and a short description can prevent confusion when several cassettes look alike. If there are multiple sides, say whether both sides should be captured. For a tape with several recordings, note the approximate locations of the material you care about.
Do not force a cassette that is jammed, cracked, or visibly tangled. Do not try to pull out a loop of tape with your fingers. Small repairs may be possible, but rough handling can crease or tear the tape. If a cassette has mold, looks severely damaged, or smells musty, keep it separate and mention its condition before it goes near playback equipment.
It also helps to look through your collection before deciding what to convert. You may find duplicate commercial albums that are easy to replace, alongside recordings that exist nowhere else. Start with the truly personal material: family voices, old answering-machine messages, school performances, local events, and home recordings. Those are usually the tapes with the greatest reason to preserve them.
Choosing the right digital files and storage plan
A digital file is only useful if you can find it later. Ask for sensible file names that identify the recording, such as “Smith Family Interview – June 1992 – Side A.” A folder full of files called Track 01 and Track 02 becomes difficult to sort through after a few years.
For a single cassette, one file per side may be perfectly practical. For a tape containing distinct songs, interviews, or speeches, separate tracks can make listening and sharing easier. It depends on how you expect to use the recording. A continuous capture preserves the original flow, while individual tracks are more convenient for specific moments.
Storage deserves the same care as conversion. Keep the files in at least two places, such as a computer and an external drive. A trusted cloud backup can add another layer of protection. Check that the files open correctly after copying them, and revisit your archive occasionally as devices and file habits change.
Keep the original cassette, too. Even after conversion, it is the source material. Store it upright in its case, away from heat, moisture, dust, and strong magnetic sources. The digital file is your access copy; the tape remains your physical archive.
When local help makes sense
A basic cassette-to-computer setup can work for a straightforward tape, especially if you already have a reliable deck and understand audio recording. The trade-off is time. Each 60- or 90-minute cassette plays in real time, and the work includes monitoring, labeling, saving, and backing up files.
Local assistance is often a better fit when the recordings are irreplaceable, the tapes are questionable, or you have a whole stack waiting to be handled. It also gives you a chance to ask practical questions face to face instead of guessing about formats, file names, or storage. At Liquid Books, digital conversion is part of the same neighborhood-help mindset behind printing, shipping, and preserving the media people care about.
Bring your tapes together, share any details you know, and be clear about what matters most: every minute preserved, easy files for the family, or the best possible playback of a favorite recording. A cassette may be small, but the moment stored on it can be impossible to replace. Giving it a safe digital home is a thoughtful way to keep that moment close.
 Previous Post
 Next Post